
Tips for Experimenting with Yarn Dyes
Dying your own yarn personalizes and enhances crochet projects. Working efficiently and knowing fundamental concepts of dying will produce unique colors that will encompass your signature style. As you learn about working with diverse yarn types, available dyes, and dying techniques, you’ll want to strive for the most promising results. This article will emphasize the value of following a few basic guidelines when starting out.
Understanding Your Yarn Base
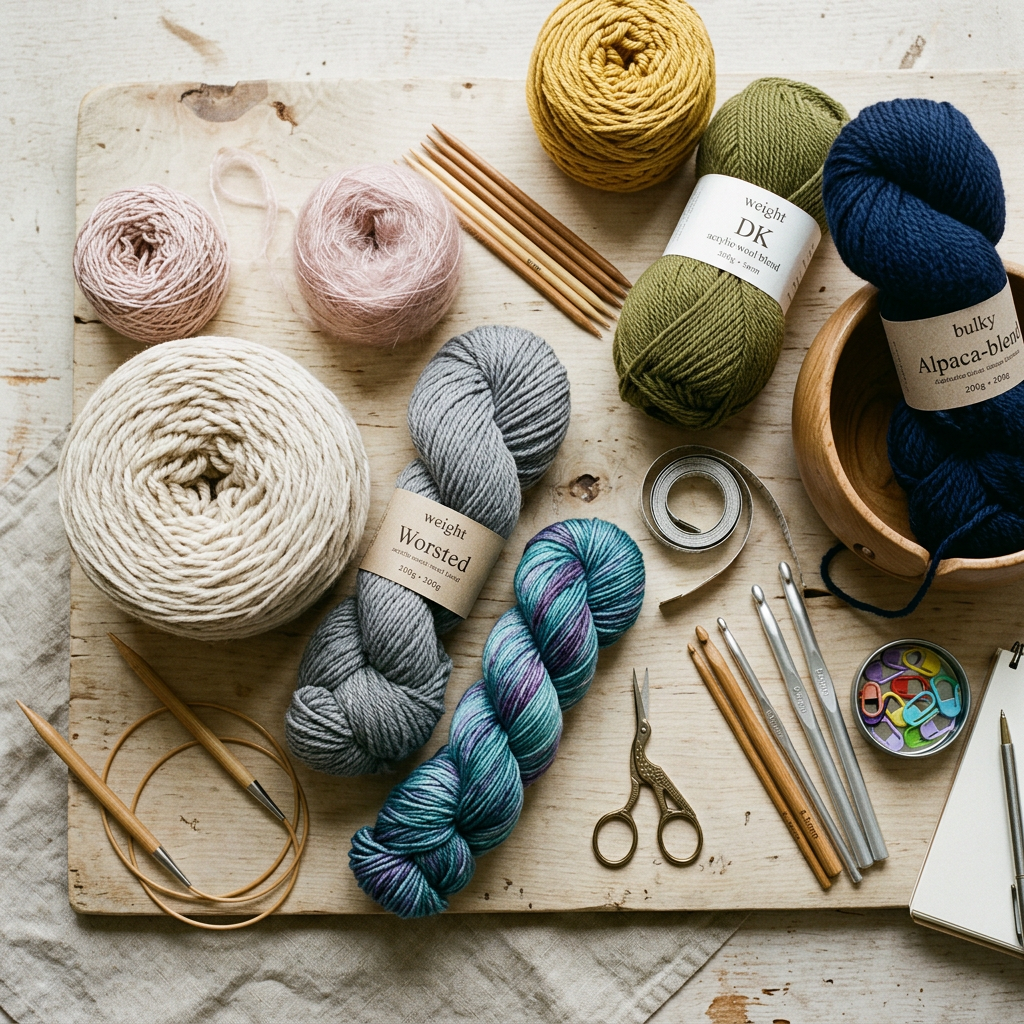
Different kinds of yarn will prove to be more absorbent than others. Each type of fiber reacts differently, depending on the properties of the yarn and the dye used. Natural fibers, such as cotton, lamb’s wool, and alpaca, will produce a more vivid color result than synthetic fibers. The weight and texture of the yarn will also affect your dye results. For example, the more dye that saturates the yarn, the more intense the color. You will find better results with a natural fiber than a synthetic one. To cut down on the surprise of your results, test a small sample of your undyed yarn before committing to the whole skein.

Choosing the Right Dyes
There are a number of dyes you can choose from, depending on your fiber. Fiber-reactive dyes (FRDs) are primarily applied to plant-based fibers, such as cotton, bamboo, or hemp. Acid dyes are recommended for nylon, wool, and silk. Finally, natural dyes are extracted from plants and insects and work well for any natural fiber. Take the time to research these yarns to determine wash fastness and their sensitivity to light. One example of a dye that holds up in bright lighting is acid dye. You can experiment by mixing different colors for a truly unique touch..
Preparing Your Work Area
The first step in preparing your work area is to protect it by covering table surfaces with plastic. Dollar stores often carry plastic tablecloths that work for tight budgets. You want to prevent staining in the event of spills. Next, gather the remaining necessary supplies. You’ll use gloves, pots and utensils to stir with. You will want to use stainless steel pots and utensils, such as tongs and spoons.
Most importantly, ensure your workspace is in a well-ventilated area. Use fans and open windows to dissipate noxious fumes that will emanate from the dye as it brews. One final item you need for your dying endeavor is a journal. Recording your processes, dyes used, and results will make the technique easier the next time and help you repeat your best results.

Rinsing and Setting the Dye
To rinse your yarn, fill a sink with cold or lukewarm water; hot water will extract extra dye from the yarn. Use a small amount of detergent. Some detergents you can use are wool detergent, Dawn dish soap (as long as it’s not Ultra), or even shampoos made for color-treated hair. Add a small amount of vinegar if you’d like the colors to be more vivid. After your yarn has soaked, drain your basin and gently rinse your yarn until the water runs clear. Gently squeeze the yarn to get the excess water out. Rubbing or wringing the yarn will damage the fibers. You can roll the yarn in the towel to help absorb some excess water. Finally, lay your yarn flat to air dry it, remembering not to put it in direct sunlight to prevent fading.
Exploring Color Combinations
When you’re selecting your dye colors, work with the color wheel to determine the palette that will appeal to your project. Complementary colors will provide a stunning contrast. Consider which season your design is associated with; for instance, earthy tones are used with autumn themes. You may wish to experiment with ombre and gradient color dying techniques to lend depth and dimension to your yarn.

Documenting Your Results
Earlier, one of the necessary supplies mentioned was your journal. Along with your notes, take photos of the yarn after it has dried. The visual aids will inspire you and track your journey and growth. It is strongly encouraged that you share your results with online communities and social media. You can receive feedback, tips, and inspiration through new ideas that are shared. Finally, take the time to reflect on your successes and failures to hone your dying skills and improve your experience the next time.
Ready, Set, Dye!
These were the fundamental bits of advice that will help make your yarn-dying experience easier. Work safely and efficiently by following these tips, and you will facilitate your adventure in creating one-of-a-kind yarn colors. Most importantly, document your process for further improvements. Happy Dying!


Leave a Reply